How Changing Your Engine Oil Filter Saves You Money and Prevents Costly Repairs

Maintaining your vehicle isn’t just about performance—it’s also about saving money. A clogged engine oil filter can reduce efficiency, leading to higher fuel costs and expensive engine repairs. Regularly changing your oil filter is a simple yet effective way to protect your investment and avoid costly breakdowns.
By handling this maintenance yourself, you can cut down on labor costs and extend the life of your engine, keeping more money in your pocket. Here’s how to change your oil filter correctly.
1. Gather the Necessary Tools and Materials
Before you begin, check that you have all of the necessary tools and materials at your disposal. To complete this task, you will require a wrench for the oil filter, a drain pan, gloves, a new oil filter, and fresh oil.
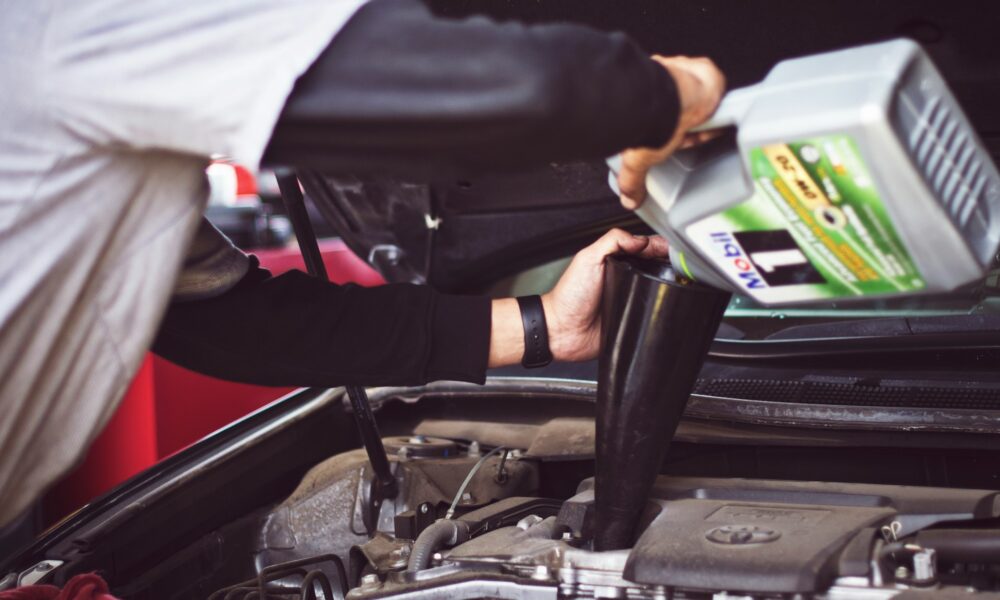
The task will be less difficult and more secure if you have the appropriate tools. It’s essential to choose the correct oil filter that matches your vehicle’s make and model. You will also need a funnel to avoid spills when adding new oil.
2. Prepare the Vehicle for Oil Filter Replacement
Make sure your vehicle is on a flat surface and the engine is cool. If the engine has been running, wait for it to cool down before starting the job. Place a drain pan under the oil pan to catch any oil that drains out when you remove the filter.
You may also want to lift the car with a jack if needed, but make sure it’s securely supported with jack stands. To prevent oil and dirt from getting on your hands, you should wear gloves.
3. Locate the Oil Filter
Next, find the oil filter. In most vehicles, the oil filter is located near the engine block, but the exact location can vary depending on your car model. When you want to access the filter, you might have to remove other components, such as the engine cover or the air intake. Check your car’s manual for guidance if you’re unsure of its location.
4. Remove the Old Oil Filter
Using the oil filter wrench, turn the old filter counterclockwise to remove it. Be careful as the filter may still have some oil in it, so let it drain into the pan.
Once you have removed the filter, check for any rubber O-rings that might have stayed behind. If any remain, remove them before installing the new filter. It’s important to clean the area where the filter sits to ensure a good seal for the new filter.
5. Prepare the New Oil Filter
Before installing the new filter, coat the rubber seal on the top with a small amount of fresh oil. This helps the filter seal properly and prevents it from sticking when you need to remove it next time. Be sure the new filter is the correct size and matches your car’s specifications.
6. Install the New Oil Filter
Using your hand, screw the new oil filter onto the engine while turning it in a clockwise direction. Tighten it securely, but don’t overtighten it.
Follow the manufacturer’s instructions on how tight it should be. Typically, it should be snug but not too tight, as over-tightening can cause leaks or damage. Once the new filter is in place, you’re ready to add fresh oil to your engine.
Keep the Engine Running Smoothly
Consistent oil filter changes not only prevent potential issues but also contribute to better fuel efficiency and reduced engine wear. Stay proactive with your car’s maintenance and enjoy a reliable, long-lasting engine.


